Whisper AI makes online speech to text practical when you need an audio file turned into clean, usable writing. Instead of replaying a recording sentence by sentence, you can upload the file, generate a transcript, review the important sections, and export the result. This guide walks through the full process for transcribing audio to text online, including setup choices that can save time later.
The basic workflow is simple: prepare your audio, choose the right input mode, select transcription settings, run the job, review the transcript, and export it for the next task. That last part matters. A transcript is not only a block of text. It can become meeting notes, interview research, captions, a blog draft, a support record, or a searchable archive.
Step 1: Prepare the audio file
Before uploading, make sure the file is the best version you have. Use the original recording when possible instead of a compressed copy from a messaging app. If the recording has a long silent section at the start or end, trim it first. If several people recorded the same session, choose the track where voices are closest to the microphone.
Good audio helps every speech to text system. You do not need a studio recording, but you do want clear speech, limited background noise, and minimal overlap between speakers. If the recording is noisy, write down the names, acronyms, or product terms you expect to see so you can check them quickly after transcription.
For long recordings, decide whether you want to process the whole file at once or test a short clip first. A five minute test can reveal whether the language, speaker, and export settings are correct before you spend time reviewing a full transcript.
Step 2: Open the transcription workspace
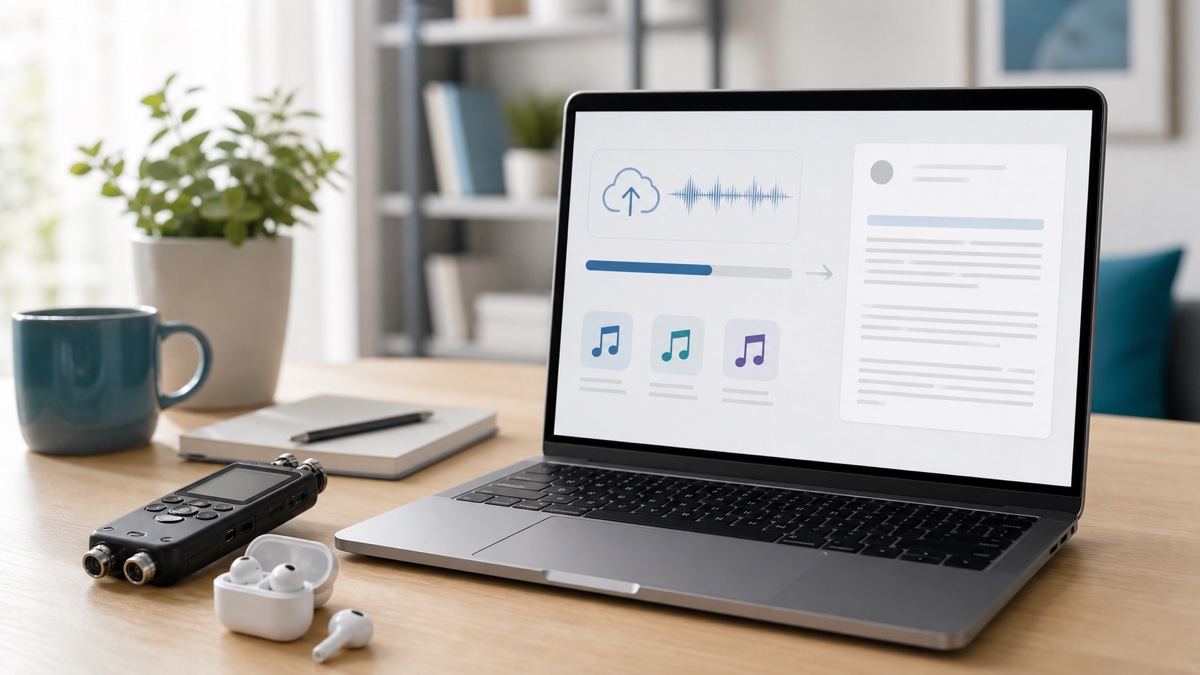
Go to the Whisper AI speech to text workspace and choose the file upload option. Upload your audio file and wait for the file to finish preparing. If your content is a live conversation, use the recording option instead. If your content is hosted as a direct supported media URL, use the URL option.
The source type should match how you captured the audio. File upload is best for existing recordings such as MP3, WAV, M4A, or video files. Browser recording is best for quick voice notes or live sessions. URL import is best when you already have a media file hosted online and do not want to download it first.
Once the file is ready, check the settings before starting. This is the point where a few seconds of setup can reduce cleanup later.
Step 3: Choose language and speaker settings
If you know the main language, select it. Auto detection is convenient, but a fixed language can help with short clips, noisy recordings, or specialized vocabulary. If the recording mixes languages, keep the transcript review step in mind because multilingual content may need extra human cleanup.
If there are multiple people speaking, turn on speaker labels. Speaker labels are useful for interviews, meetings, panels, and customer calls because they make the transcript easier to scan. After transcription, you can rename generic labels such as "Speaker 1" to real names or roles.
If the recording is a solo voice note or narration, speaker labels may not be necessary. The best setting is the one that matches the final use. A podcast interview benefits from speaker labels. A narrated tutorial often needs clean paragraphs and timestamps more than speaker separation.
Step 4: Review the transcript before exporting
After Whisper AI finishes the speech to text job, read the transcript from top to bottom once. Look for names, numbers, links, technical terms, and sections where people talked over each other. Those are the areas most likely to need review.
Do not edit every sentence the same way. If the transcript will become internal notes, focus on decisions, names, and action items. If it will become a published article, edit for grammar, structure, and repeated phrases. If it will become subtitles, keep timing and line length in mind.
For important quotes, play the matching audio section and confirm the wording. AI transcription can be accurate and still miss a proper noun or a quiet phrase. The review step is what turns an automatic transcript into a dependable document.
Step 5: Export for your workflow
Use TXT when you want the simplest audio to text result. Use DOCX when you want to share or edit the transcript in a document editor. Use SRT or VTT when the transcript needs to become captions. Use JSON when developers or internal tools need structured segments.
If you are creating video captions, export a subtitle format and then test it in the video player or editor. The W3C has useful guidance on captions and transcripts for accessibility, and the main lesson is practical: text alternatives help people understand media in more situations.
If you are creating notes or content, export a readable text format and then rewrite the transcript into the shape you need. Spoken language often includes false starts, filler words, and repeated context. A transcript gives you the raw material; editing gives it structure.
FAQ
Can I transcribe MP3 to text online?
Yes. Upload the MP3 in the speech to text workspace, choose your settings, run transcription, review the result, and export the text.
Should I select a language or use auto detect?
Select the language when you know it, especially for short or noisy recordings. Auto detect is useful when you are unsure or working with varied files.
What should I do after the transcript is generated?
Review names, numbers, timestamps, and speaker labels first. Then export the transcript in the format that matches your next step.